How to Install Your Lightroom Mobile Presets
You have the Lightroom App on your phone, you’ve downloaded my Lightroom mobile presets, now the question is: how do you install the presets into your Lightroom App? That is exactly what we’re going to cover in this video…
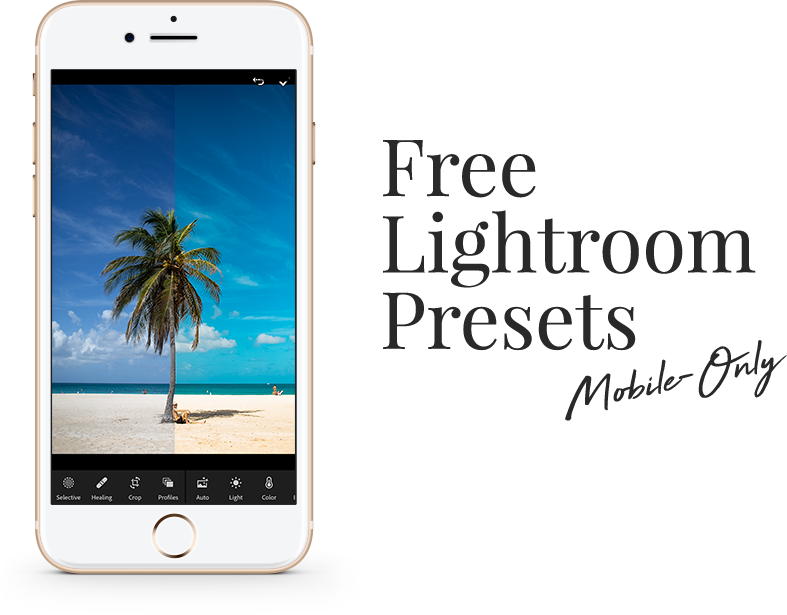
In case you have no idea what I’m talking about, not long ago I’ve launched the One Happy Island Presets collection. This collection includes 12 different presets and are inspired by the vibrant colours of the One Happy Island Aruba. You can visit my Etsy account and download the full collection. However, if you want to test one for free, head to this link and I will send it to you via email.
Step 1: Download Lightroom CC Mobile App & Dropbox App
The first step is to download these two free apps. Dropbox will be used to download your presets and have them stored in a safe place (you need this step!) and Lightroom will be used to edit your photos. Both apps are available for both iPhone and Android users.
Here are the direct links in case you need them:
Step 2: Download your DNG files.
Go to the link on the first page and you’ll be directed to the Dropbox App. Here you will find all your DNG files, these are your presets. Next, you will save these presets in your camera roll.
Step 3: Save your presets in Lightroom
Once you’re in the Lightroom mobile app you’ll see an album section. Click the plus icon to the right of albums. Next, you’ll see a popup at the bottom of your screen that says Create New including Album and Folder as the options listed. Choose “Album”. Name your album “One Happy Island Presets”. Click Ok.
Step 4: Import your DNG files in your album.
Click the 3 dots next to your One Happy Island Presets Album. Click “Add Photos”. Click “From Camera Roll”. Select your DNG files and add these to your album.
Step 5: You have two options now
Option 1: copy/paste the DNG preset settings to your photos every time you’re editing.
Option 2: you can save the presets into your presets folder and use them later by one click.
I’d choose option 2 because it’s the easiest way to use the presets later. Let’s do that now and save some time later!
Step 5b: Save the presets to your presets folder.
First, you’d want to go to the One Happy Island Preset album we created earlier. Then select any preset that you want to use to edit your image. Next, select the circle button with three dots in the top right-hand corner. Click “Create Preset”. Type in the name of your preset.
Here are my Aruba’s Inspired Preset Names:
- One Happy Island
- Amor
- Beach
- Cadushi
- Coco
- Dushi
- Golden Hour
- Oranjestad
- Palm Tree
- Paradise
- San Nicolas
- Sunset
Next, select a preset group that will hold all of your presets. User presets will be selected as the default option. But if you want to create a new custom group, click the little dropdown option under Preset Group. Select “Create New Preset Group”. Type in a name for the preset group “One Happy Island Presets”, then select the checkmark once you’re finished. Your preset will now be saved to a custom preset group! You’ll wanna go back and do this for each one of the DNG presets until you have all of them saved to the same preset group.
Step 6: Edit your photos
Now is time to edit your photos! Choose the photo you’d like to edit, slide to the right until you see the “Presets” tab. Go to the “One Happy Island Presets” and then click on whatever preset you’d like to edit your photos with!
We’re done! Your presets are saved in your presets group and now you can edit your photos with one single click! Please keep in mind that you will likely need to tweak your edit slightly based on your photo, camera settings, lighting conditions, etc.